How to Make a Thermal Fan Control Project Circuit Diagram How to Make Temperature Controlled Fan Using Arduino and DHT11: Temperature-controlled fans have become a popular DIY project for keeping your surroundings cool automatically. In this blog, we will guide you through creating a temperature-controlled fan using an Arduino board. With just a few electronic componen…
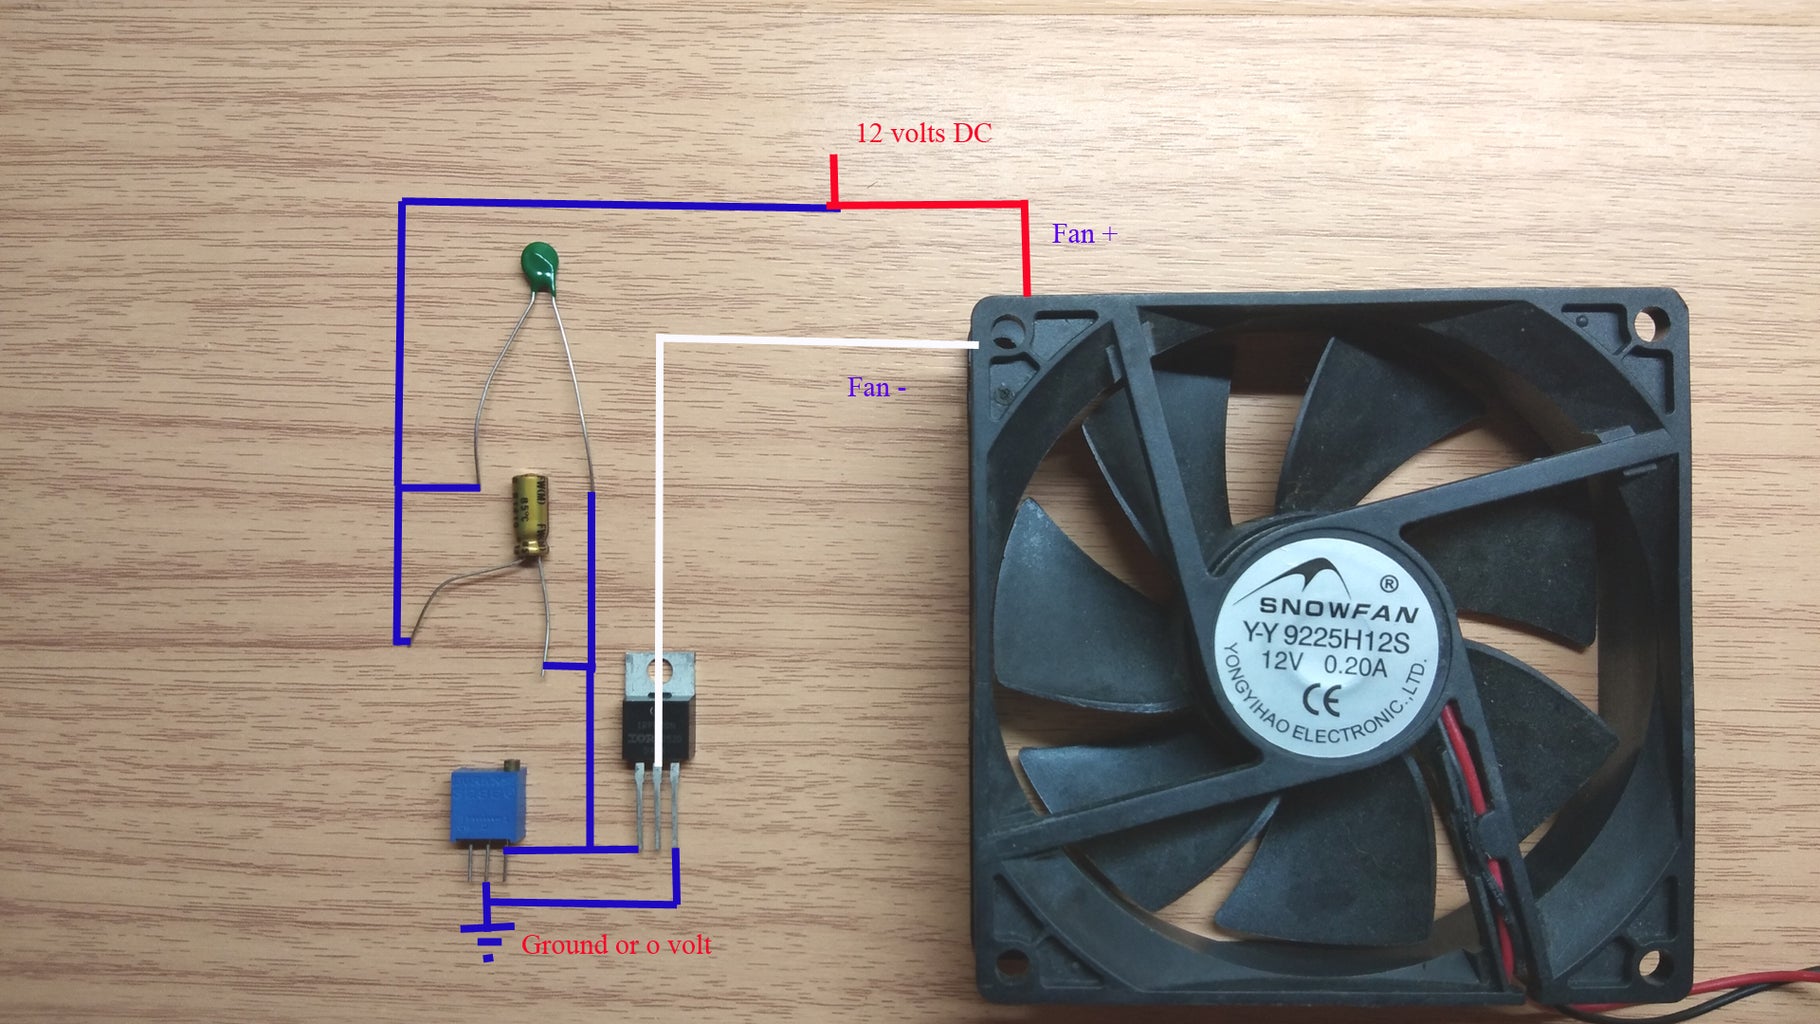
Temperature Controlled Fan Circuit Diagram. The complete circuit to build the temperature controlled fan using arduino and lm35 project is given below, we have used fritzing software for making most of the circuit diagrams. The fan and the plug were later added using photoshop. The diagram consists of an arduino,a relay, an lm35 sensor, an AC fan, and a plug.

Temperature Controlled Fan using Arduino Circuit Diagram
Most of the power electronics system use big heatsink to dissipate excessive heat. Some of these uses active cooling method, by using a fan on heatsink which help to remain the temperatures more stable. Using Arduino and temperature sensor we can make a temperature-controlled fan. More applications of this type of fan can be found in UPS
A comfortable temperature may be maintained in a variety of settings by using the temperature-controlled fan system. The temperature threshold and other functionality, including temperature logging and fan speed control, may be added to the code by modifying it. References: Temperature Controlled Fan with i2c LED Using a MOSFET like the IRF540N instead of a relay allows us to take advantage of PWM (Pulse Width Modulation) control, which enables us to adjust the fan speed smoothly based on temperature changes. A relay, on the other hand, would only allow us to turn the fan on or off, lacking the proportional control a MOSFET provides.
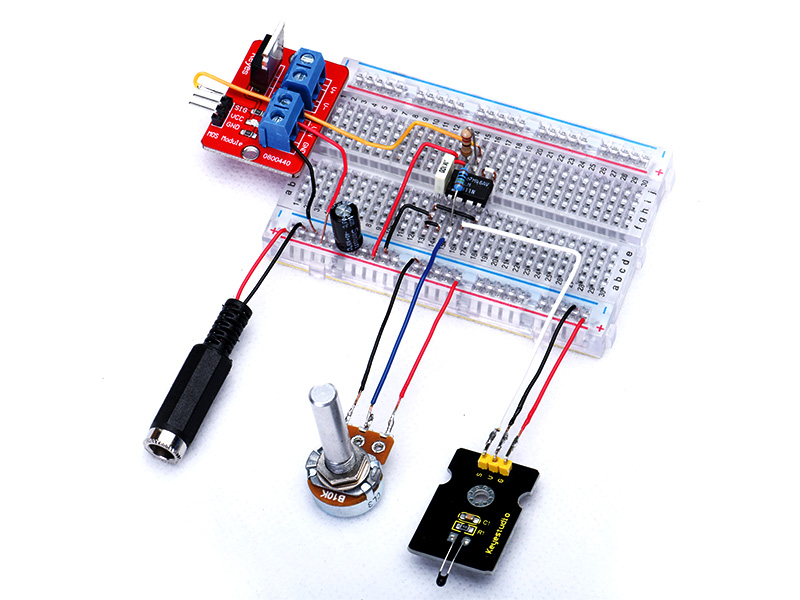
Temperature Controlled Fan with LM35 and Arduino Circuit Diagram
The fan speed is controlled by using PWM signals. And last part of the system shows humidity and temperature on LCD and Fan runs. Then we have programmed our Arduino according to the requirements. Working on this is very simple. We have generated PWM from Arduino and put it at the base terminal of the transistor.
